
While working on The Neptune Records -the game project that concluded my studies- I came across a video tutorial to implement dynamic lighting for 2D sprites in Unity. The video is awesome!! In a single minute, the video creator manages to take you through the whole process. It is efficient, funny, and gives you an excellent overview of the subject and how it could be used in your project. Go check it out!
Now that I am working on my personal -yet to be named- game project, it is the occasion to implement this myself. And since the start of the project, I knew I wanted to try this out. Had I entirely followed the video I would not have written about it, but I changed some things so I think the topic is interesting.
To understand what dynamic lighting is, let’s split up the term.
Lighting, just like in all other visual art forms, describes the effect of a light source on an object, be it a drawing, a painting, a photograph etc. In our field, it is mostly applied to 2D drawings/renders or 3D models.
Dynamic means that the lighting dynamically evolves according to the nearby light sources. Light source moves, shadows move as well. Basic. Indeed, you could simply draw your sprites already lit by the light. But that is lame and we do not want lame. So what you could also do, with some more steps, is adding some logic to your sprites to make them reactive to light. This is a bit vague but you will get the hang of it later on.
And here we mention 2D because it describes flat drawings rather than 3D models. When it comes to 3D models, these are often meant to be dynamically lit by light sources: these are digital sculptures so they have shapes and forms, and shadows, and edges. Light can naturally behave. On flat pictures, however, if you shine a light on it, everything is just flat. It is a picture! As such, the whole frame will be somewhat brighter and it will not light the drawing according to the shapes represented.
⚠️ Disclaimer: I use a paid software at some point in the process. I sadly could not find an easy and free way to do it.
If you have seen the aforementioned video, you know that first, we need our sprites.
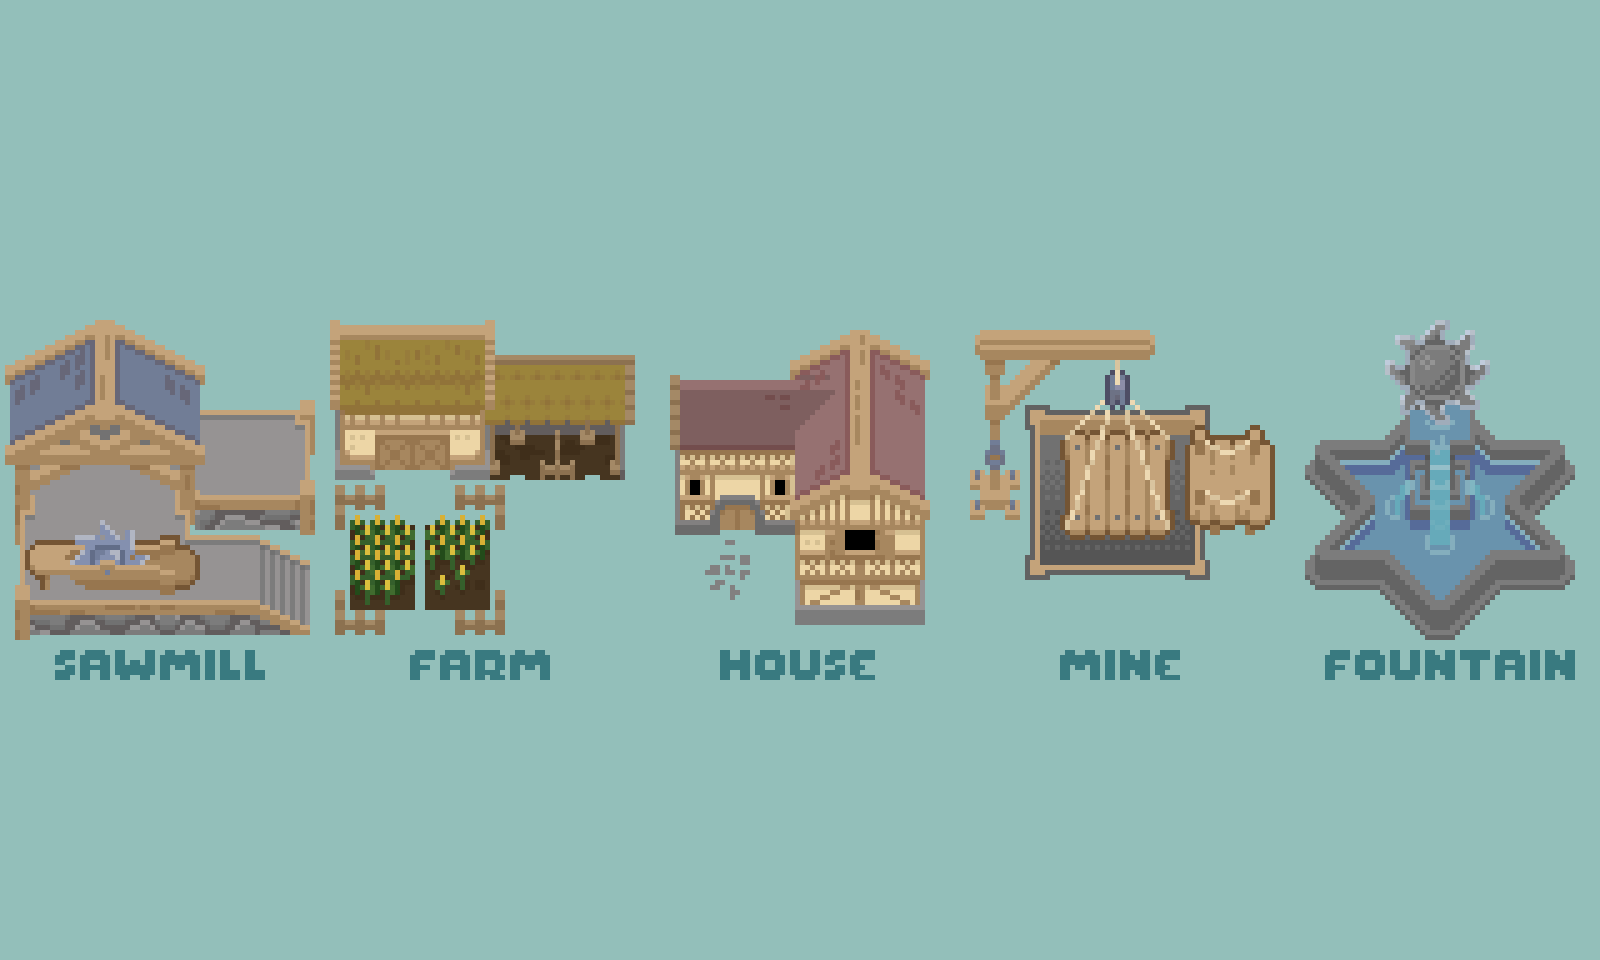
Technically speaking, I guess I should have drawn my buildings with absolutely no lights. I tried my best to do so, but it just felt too weird. For example, for all the wooden beams in my buildings, the top and front sides should be the same color (because the darker shade of wood-brown is technically due to an absence of light) and that is just too. damn. weird.
Then, for each sprite, you will need to draw the lighting in black and white. Black represents the absence of light and white the full exposure to the light source.
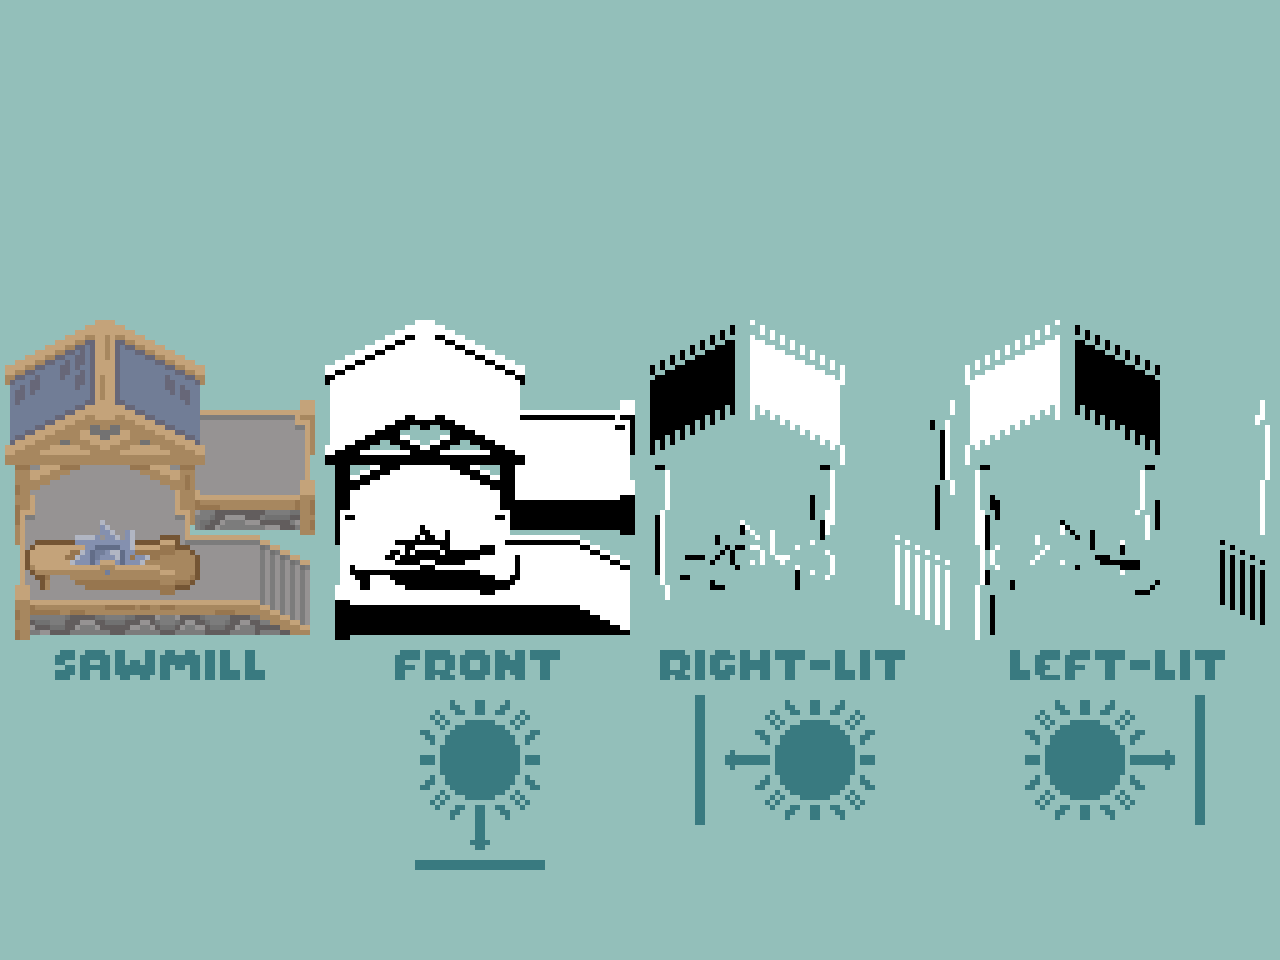
💡 I did not draw the lighting coming from under because it does not suit the perspective I chose, but keep in mind that for a flat 2D perspective you will need the four sides.
Export the main building sprite as SpriteName_Diffuse.png and the black and white lightings as SpriteName_Top, SpriteName_Bottom, SpriteName_Left and SpriteName_Right (and the .png obviously). Watch out, uppercase matters!
Open SpriteLamp and import your *_Diffuse.png file, the others should follow if named properly. From there you can generate and export the normal map for your sprite. This is the png file that holds the virtual “height” of your drawing. We will not need anything else other than your sprite and its height map, you can store your lighting sprites somewhere and forget about them.
Also, do not forget to play around with your lit sprite because it is hella cool.
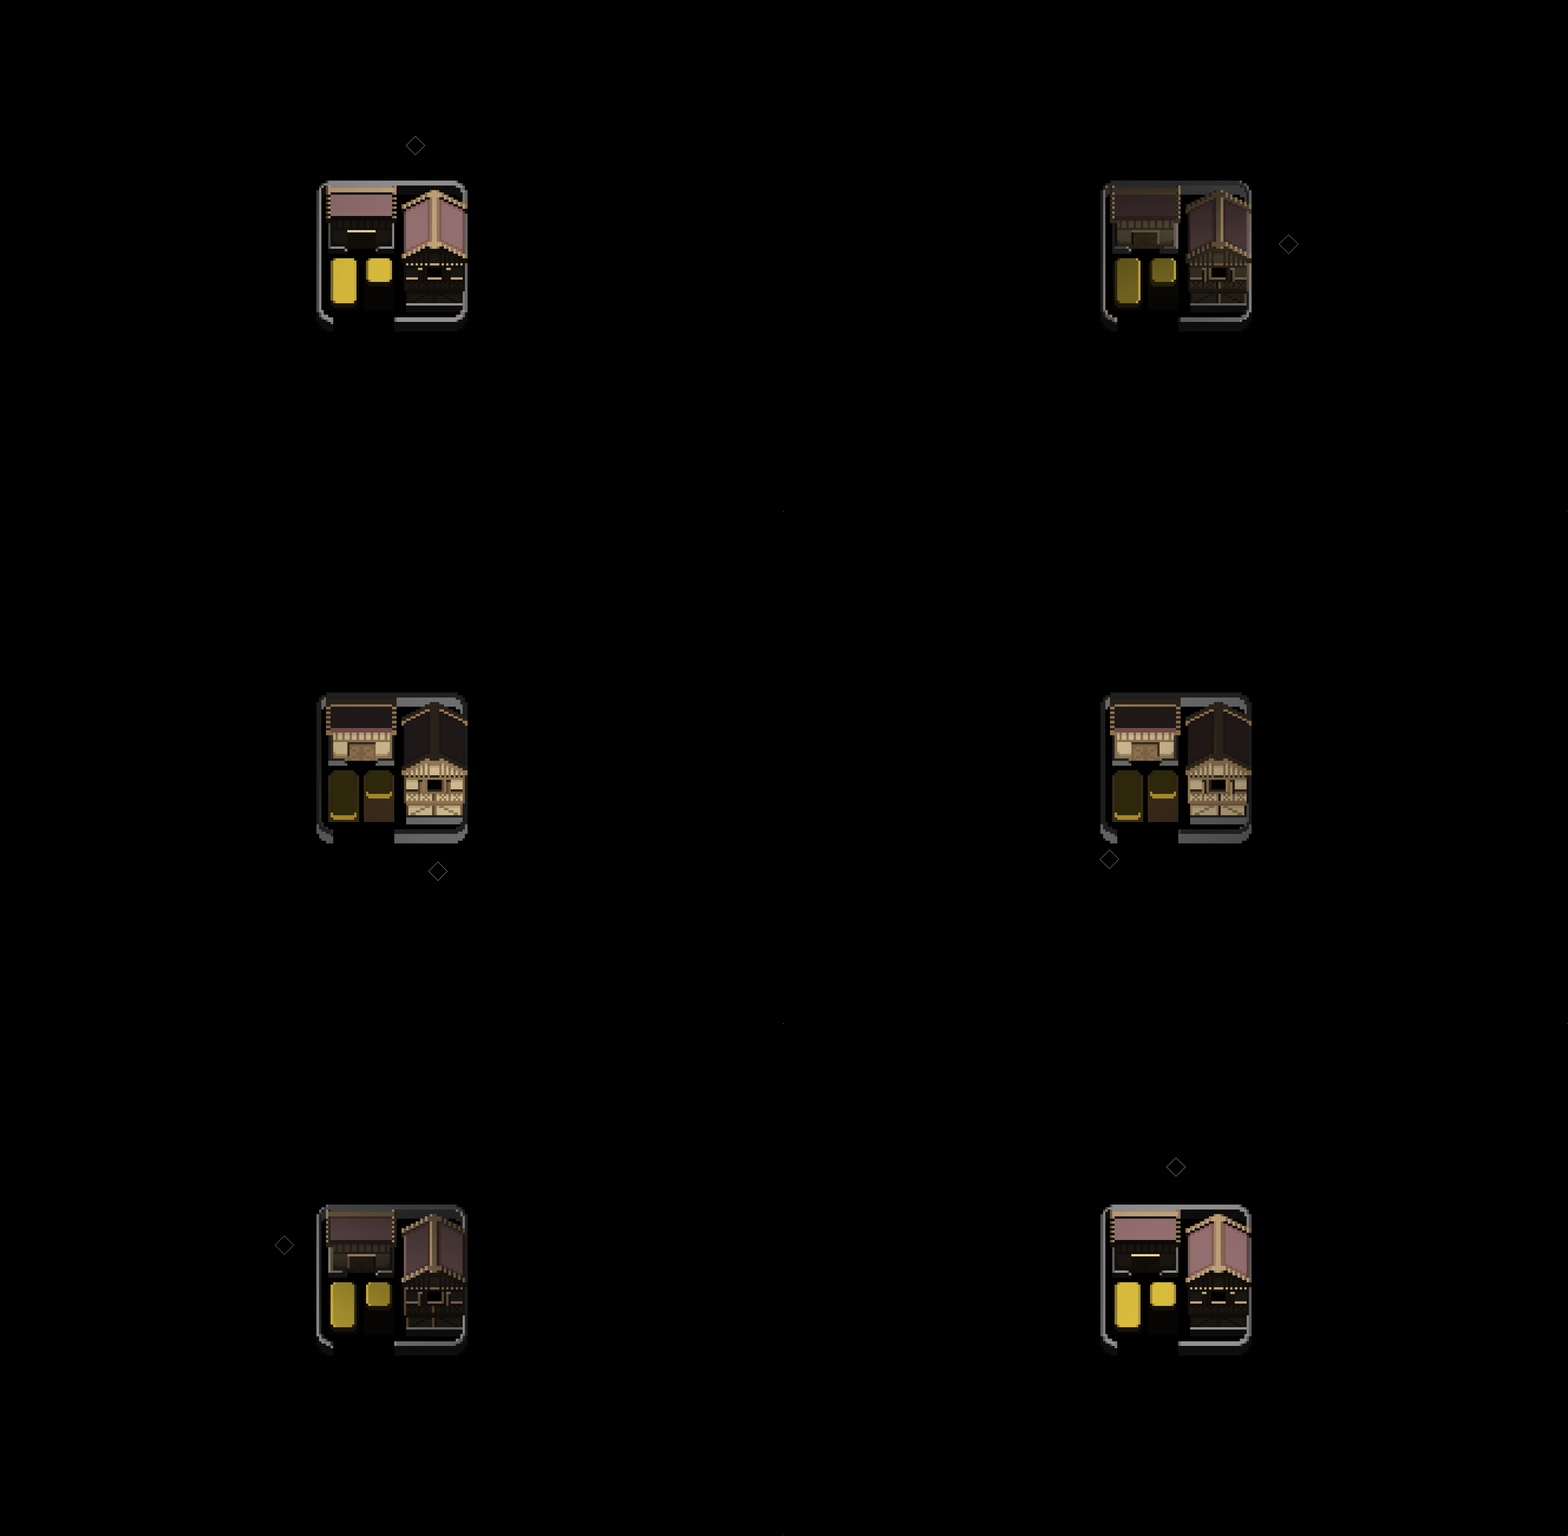
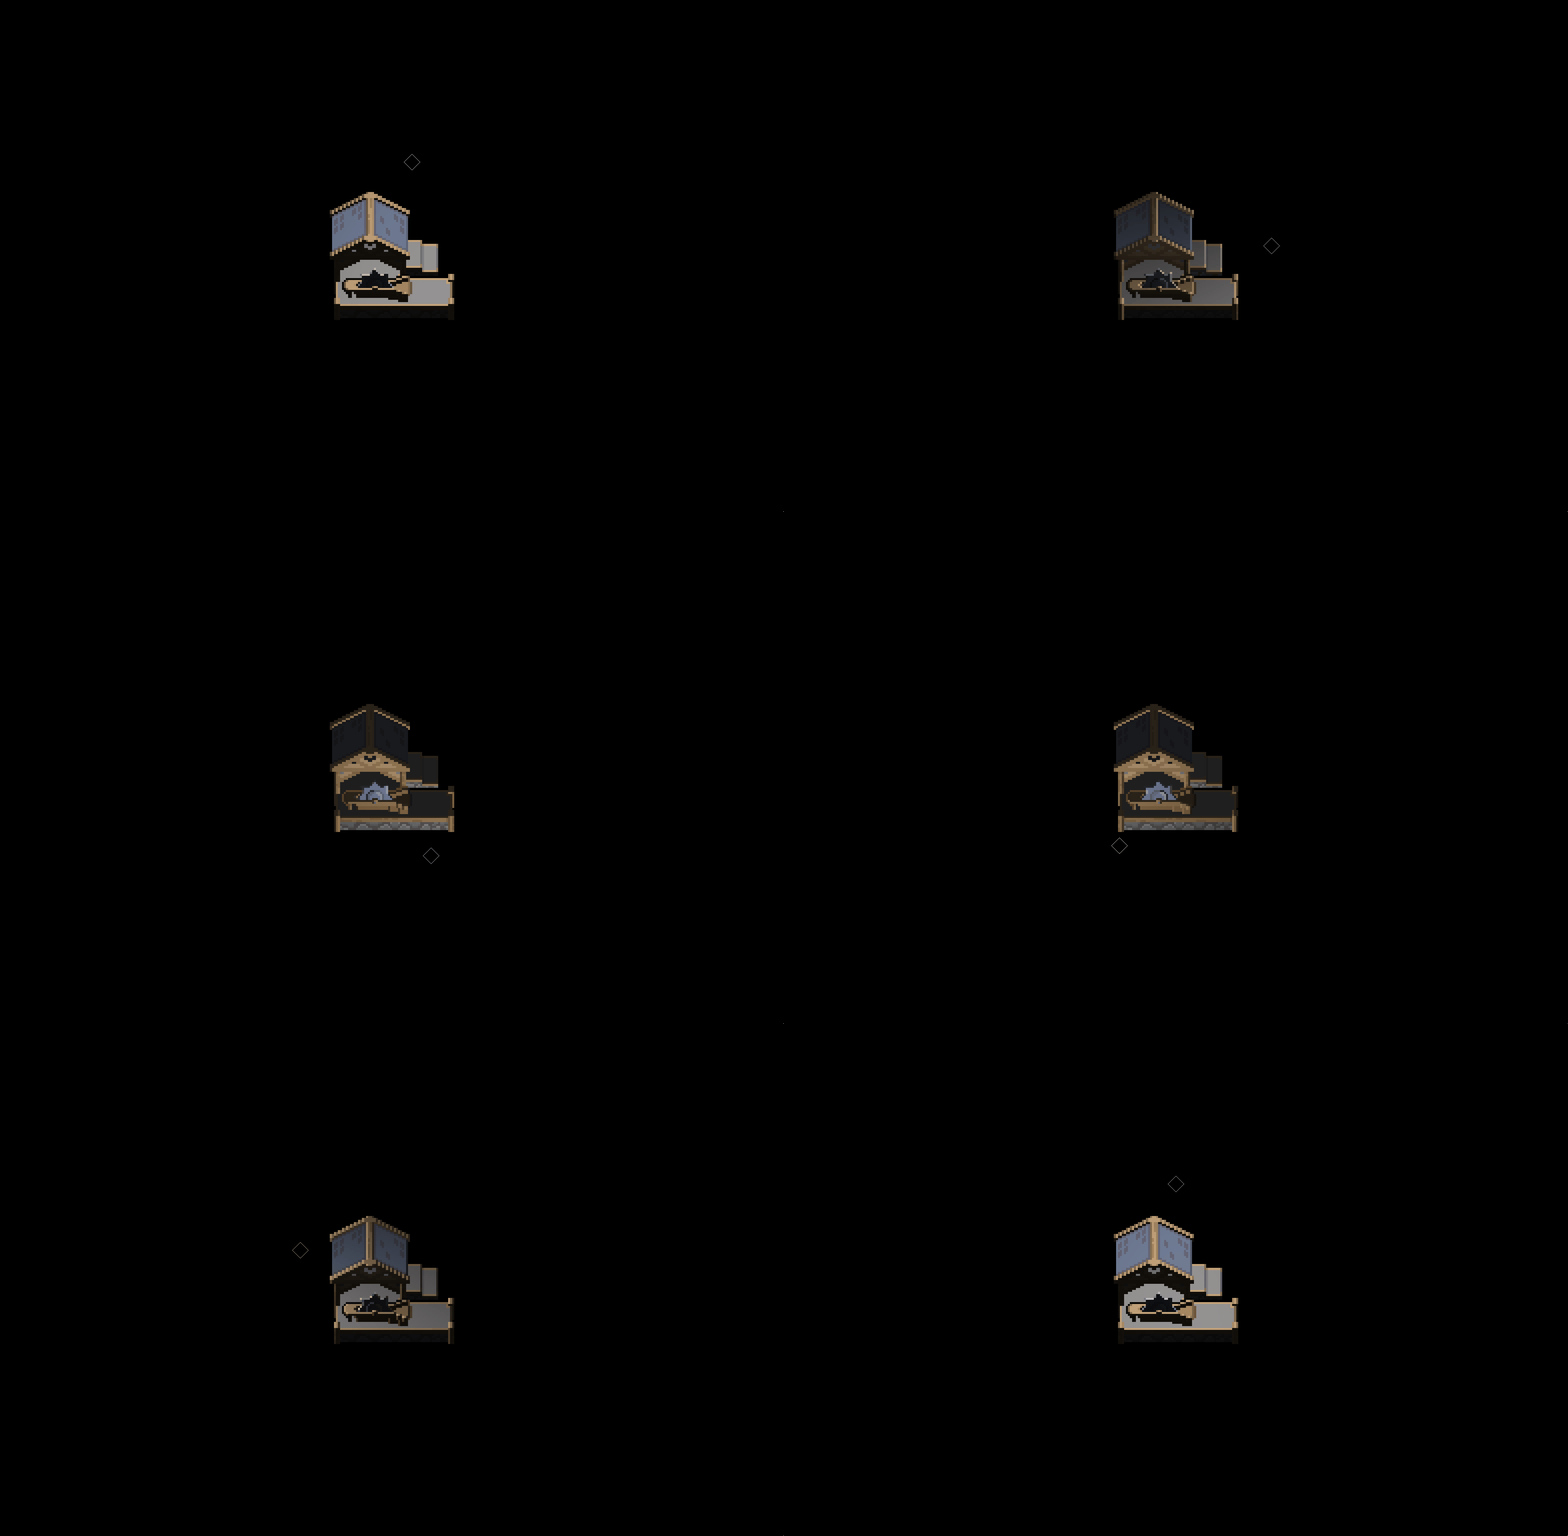
Now start up your Unity project, grab a coffee, fold your clothes, watch your children grow or whatever you usually do in the meantime. Things are about to get interesting.
In Unity, set your usual settings for your sprite and then open the sprite editor.
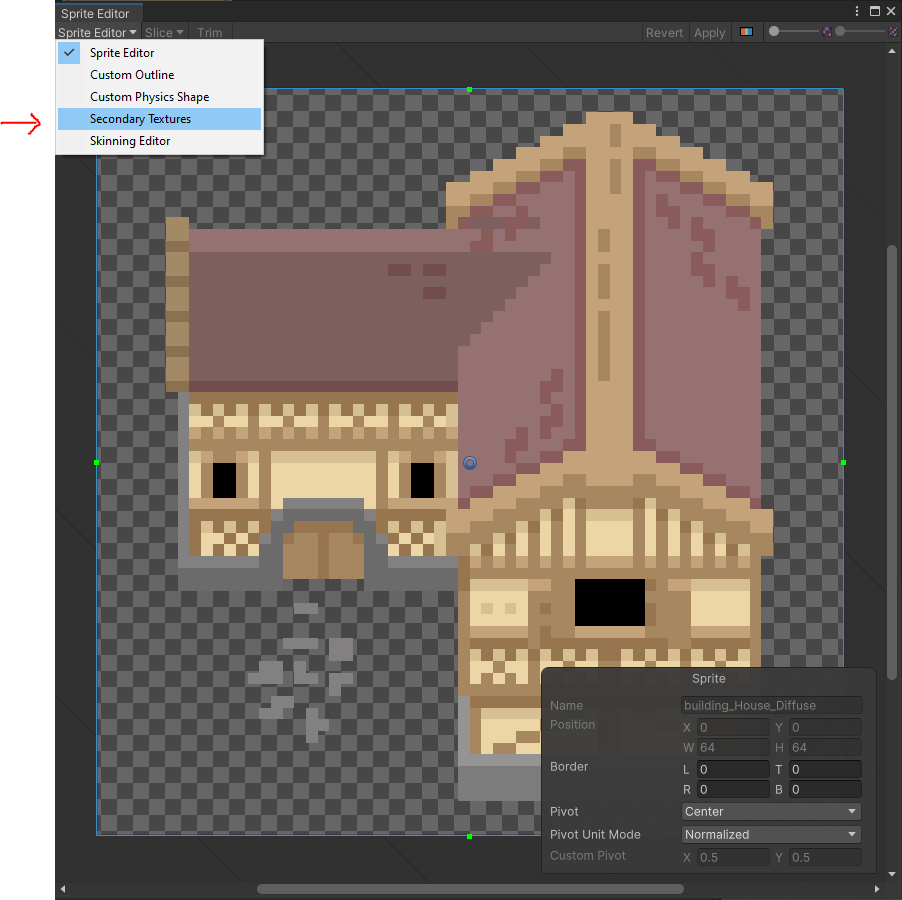
Open the dropdown menu in the top-left corner of the sprite editor and select Secondary Texture.
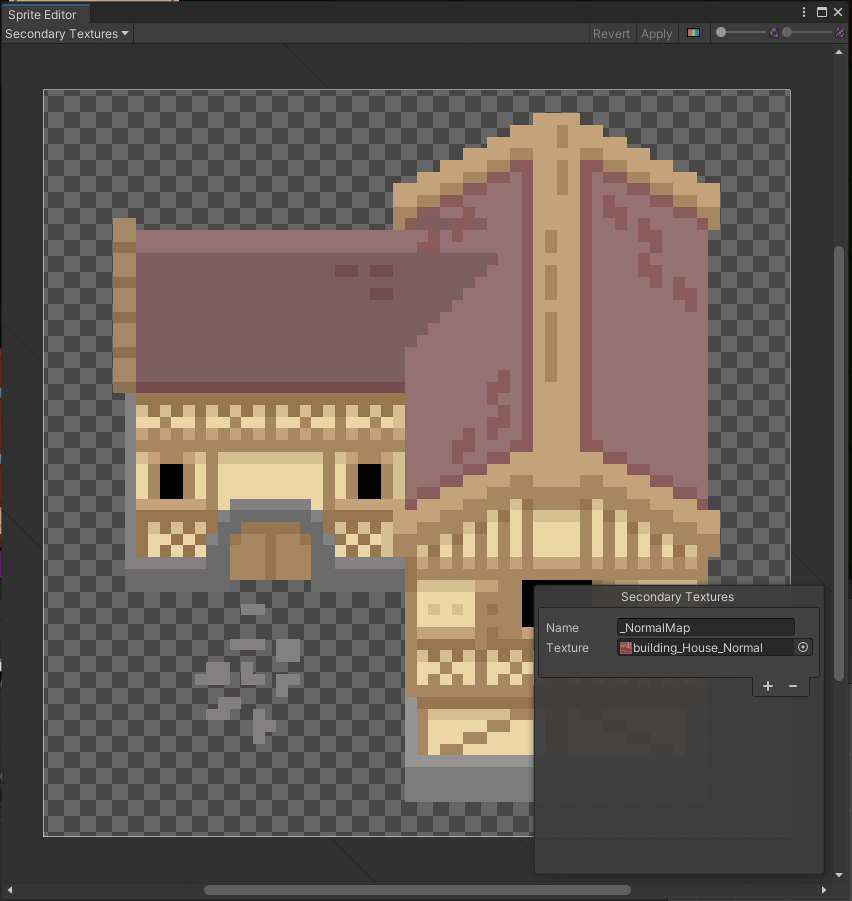
It should open a small window within the sprite editor. In this window, drag and drop the corresponding normal map and name it _NormalMap. Again uppercase matters. Once that is done, your sprite is ready to be lit. It now holds all the information it needs to be properly lit according to its topography.
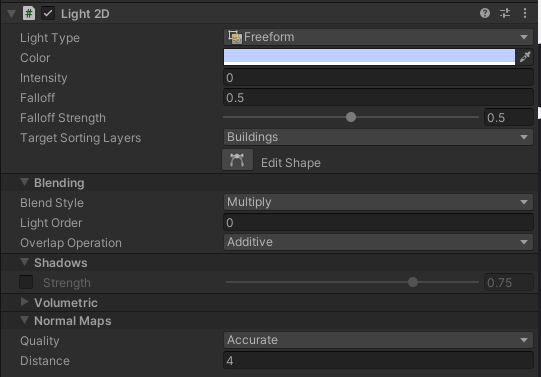
Now, each if you want your light sources to dynamically light your sprites, go over to the Light2D component and in the folding menu named “Normal Maps” switch the quality from disabled to something else. Now your sprites should go from this…
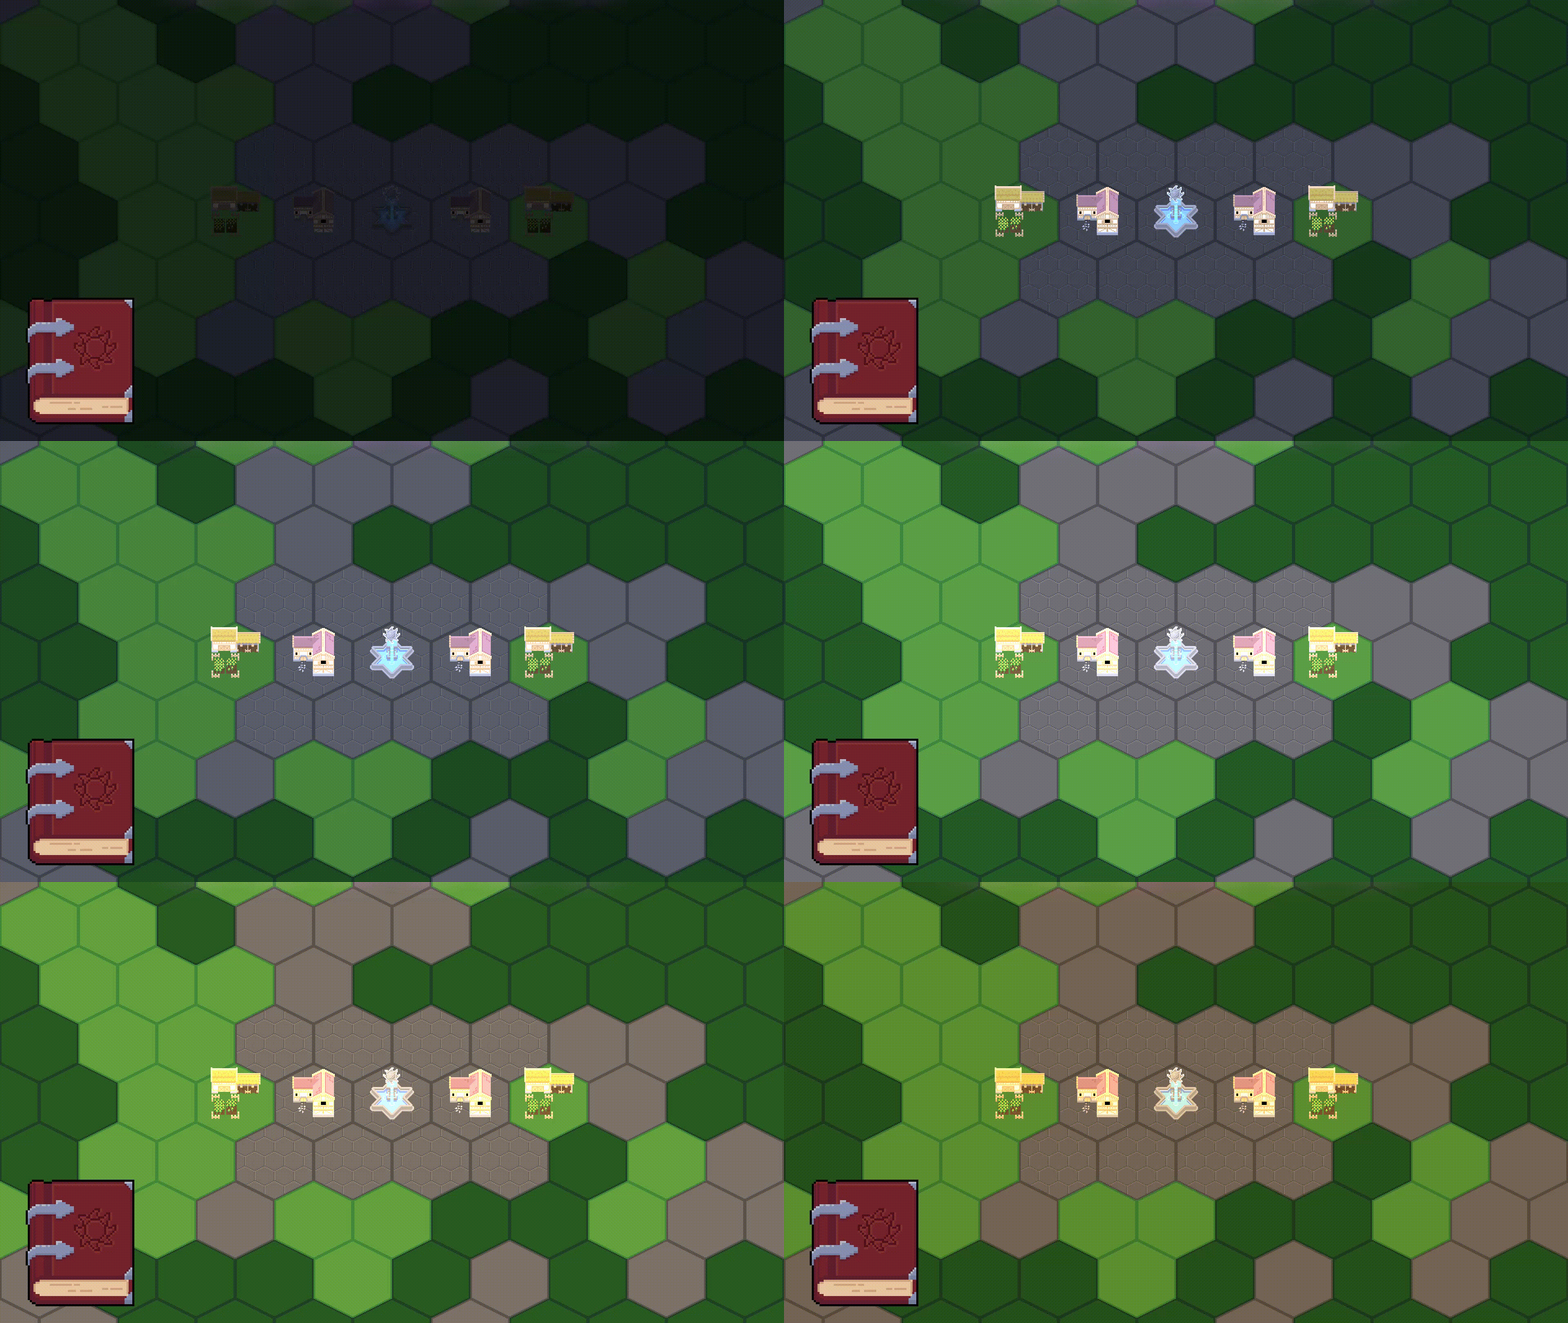
...to this!
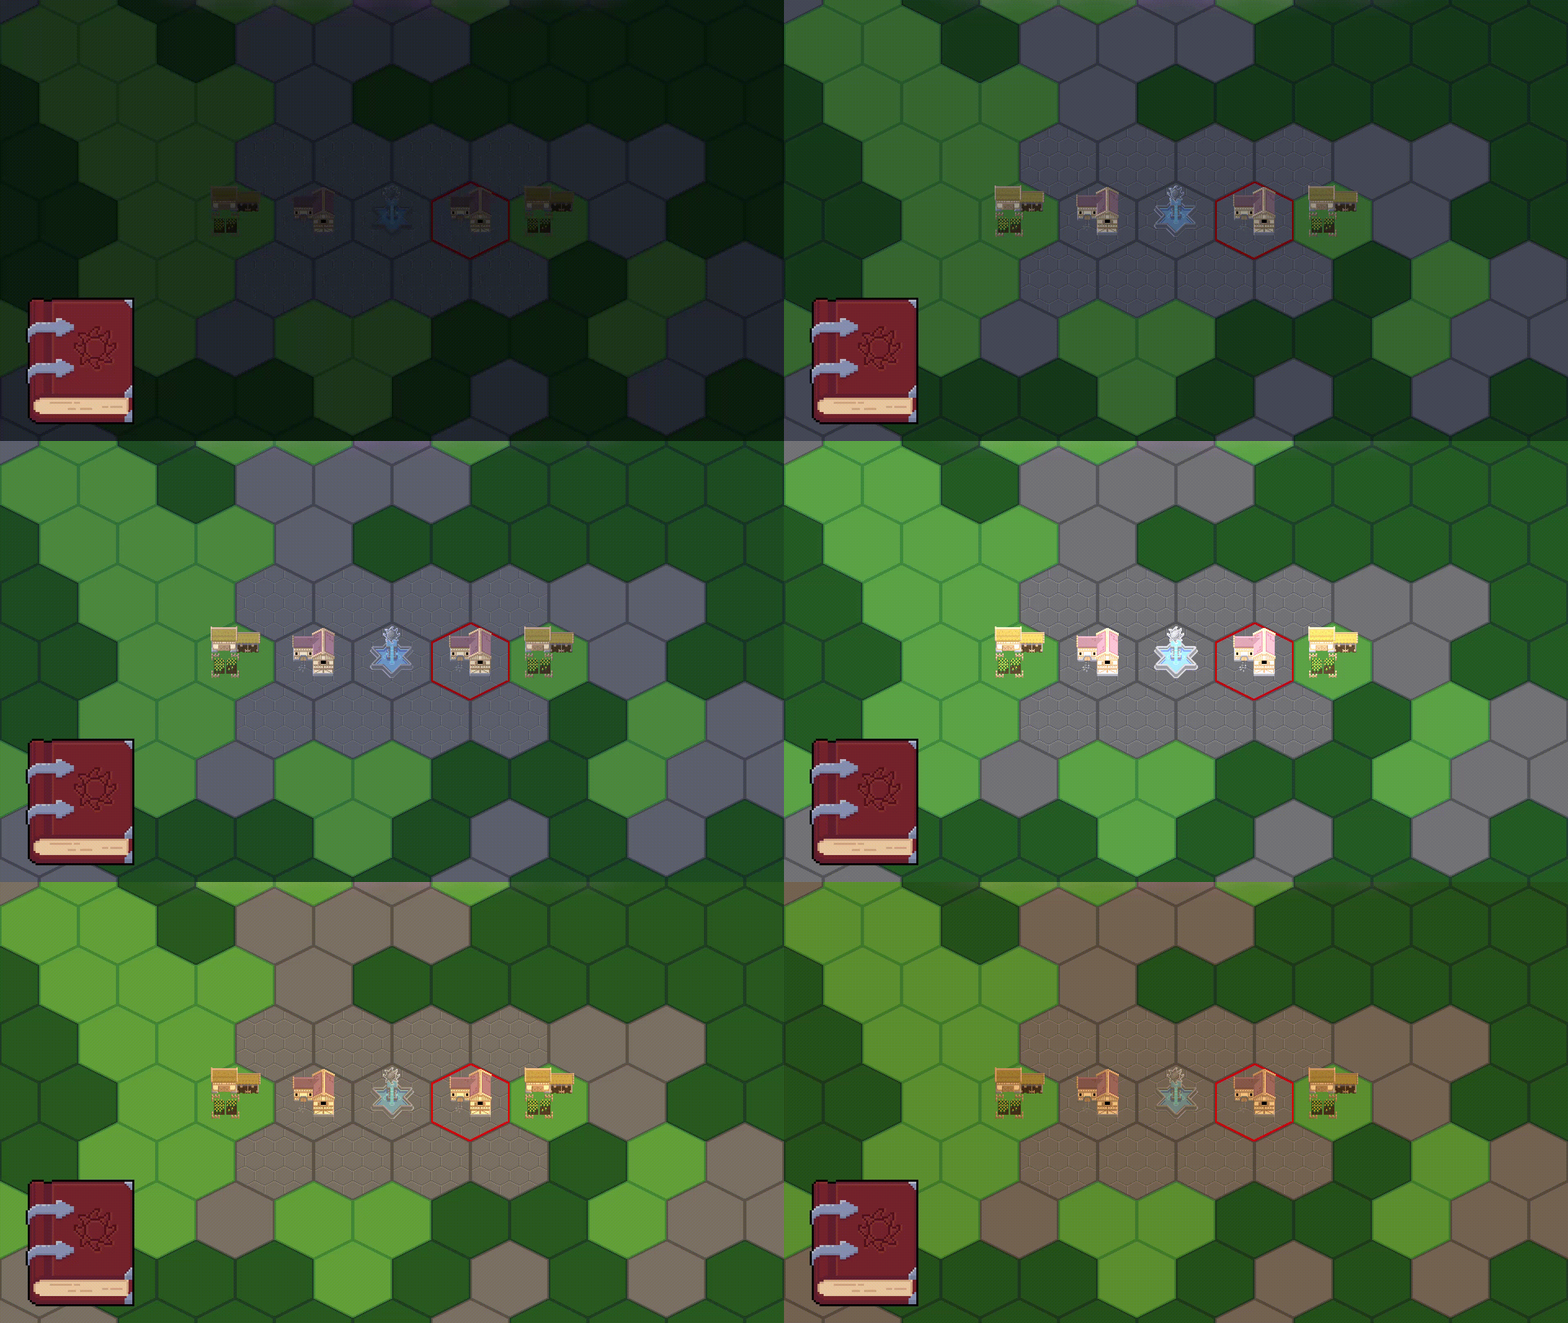
Next step is to add shadows on the groud under the buildings, but I will keep this for next time 😌
Thank you for reading to the end! I hope to see you in the next post. 🦦